Table of Contents
ToggleMost homeowners use their bathtub a handful of times per year, yet it takes up prime real estate in the bathroom. Converting that tub to a shower isn’t just about following trends: it’s about reclaiming space, improving accessibility, and making daily routines faster and safer. Whether dealing with aging-in-place needs, a cramped master bath, or simply preferring showers, this conversion is one of the most practical upgrades a homeowner can tackle. Some projects can be DIY-friendly with the right skills, while full custom installs typically require professional plumbing and tile work. Either way, understanding the options, costs, and process helps anyone make an well-informed choice.
Key Takeaways
- Converting a bathtub to a shower improves accessibility, saves water (2-2.5 gallons per minute vs. 30-50 gallons per tub), and reclaims valuable bathroom space without sacrificing daily functionality.
- Two main bathtub to shower conversion approaches exist: full custom tile installation ($3,200-$8,500) offers design freedom and durability, while prefabricated conversion kits ($1,400-$4,300) provide faster, budget-friendly installation with minimal disruption.
- Proper planning includes measuring the tub alcove, inspecting for water damage in the subfloor, checking local plumbing codes for permits, and ensuring shower valve height (48 inches) and grab bar blocking meet accessibility standards.
- Full demolition showers require critical waterproofing steps—applying liquid or sheet membranes over cement backer board before tiling—to prevent water intrusion, mold, and costly frame damage.
- DIY bathtub to shower conversion can save 40-60% on labor costs through handling demolition and installation yourself, but requires proper tools, waterproofing knowledge, and realistic expectations about tile work precision.
- Resale value impacts differ by market: accessibility-focused conversions appeal to aging-in-place buyers, but removing the only bathtub may narrow appeal to families with young children in some regions.
Why Convert Your Bathtub to a Shower?
The reasons for swapping a tub for a shower go beyond aesthetics. Accessibility tops the list, stepping over a tub edge becomes a fall hazard as homeowners age, and a curbless or low-threshold shower dramatically reduces that risk. The 2021 International Residential Code (IRC) now recognizes barrier-free showers in accessibility standards, and many local codes offer incentives for aging-in-place modifications.
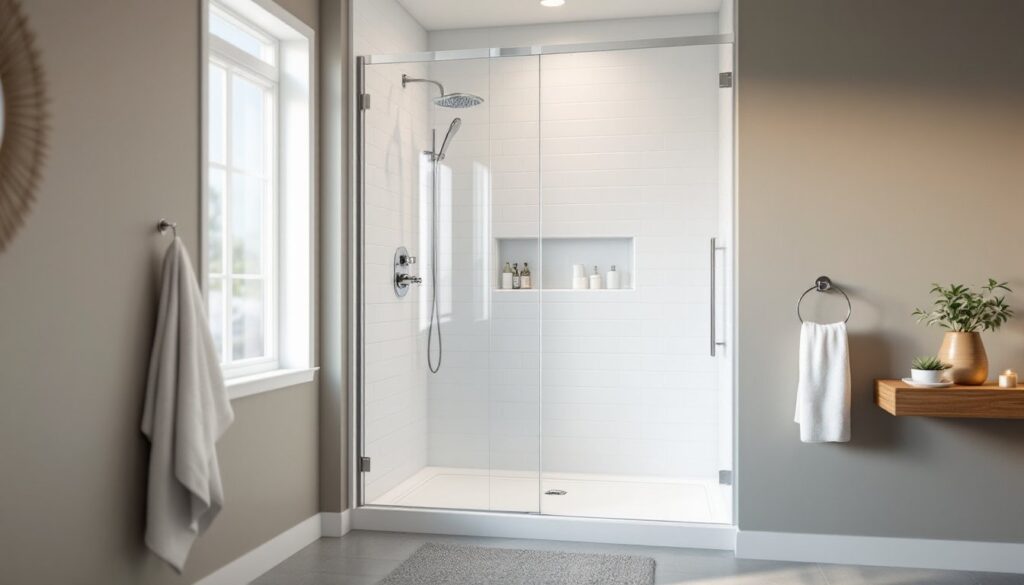
Space efficiency matters in smaller bathrooms. A standard 60-inch alcove tub footprint can house a roomy walk-in shower with built-in benches or niches. That extra elbow room makes a 5×8-foot bath feel far less cramped.
Water savings add up over time. A typical shower uses 2 to 2.5 gallons per minute with a standard showerhead, while filling a tub requires 30 to 50 gallons. For households that rarely soak, the tub is wasted plumbing capacity.
Finally, resale value can improve, especially in markets where buyers prioritize master suites with separate tub and shower or homes designed for multigenerational living. In single-bath homes, though, removing the only tub may narrow the buyer pool if young families are the target demographic.
Types of Bathtub to Shower Conversions
Not all conversions are created equal. The approach depends on budget, skill level, and how much change the existing plumbing and framing can handle.
Full Demolition and Custom Shower Installation
This is the gold standard for durability and customization. The existing tub, surround, and subfloor come out completely. The contractor (or skilled DIYer) installs a mortar bed or foam shower pan, waterproof membrane (like Schluter KERDI or RedGard), tile walls, and a new valve and showerhead.
Pros: Total design freedom, choose tile size, niche placement, bench height, and fixtures. Allows inspection and upgrade of drain lines, P-trap, and any rotted subfloor or studs. Meets code for waterproofing and proper slope (minimum 1/4 inch per foot toward the drain).
Cons: Labor-intensive and messy. Expect 3 to 7 days of work if doing it yourself, or 2 to 4 days with a pro crew. Demolition creates dust and debris. Tile work demands precision, uneven lippage or improper waterproofing leads to leaks and mold. Permits are often required for plumbing changes, especially if moving the drain or valve.
Best for: Homeowners wanting a long-term, high-quality result and who don’t mind the disruption. Also necessary if the existing tub area shows water damage or the homeowner wants to resize the shower footprint.
Bathtub Liner and Conversion Kits
Acrylic or fiberglass conversion kits fit over or replace the tub without major demolition. Installers remove the tub (or in some liner systems, leave it in place), then secure prefabricated shower base and wall panels. Panels typically interlock and glue to existing studs or backer board.
Pros: Fast installation, most kits go in within 1 to 2 days. Less mess and no tile grouting. Many kits include integrated shelves, grab bars, and slip-resistant floors. DIY-friendly for moderately skilled homeowners. No permits usually required if plumbing and drain location stay the same.
Cons: Limited design options, colors and textures are preset. Panels can look plasticky compared to tile. If the underlying studs or subfloor have moisture damage, the kit just covers the problem instead of fixing it. Resale appeal may be lower in high-end markets. Seams between panels can eventually leak if adhesive or caulk fails.
Best for: Budget-conscious projects, rental properties, or situations where minimal downtime is critical. Also ideal for mobile home bathrooms where weight and non-standard dimensions make custom tile impractical.
Planning Your Bathtub to Shower Conversion Project
Measure the existing tub alcove carefully, width, depth, and height to the ceiling. Standard alcove tubs are 60 inches long, 30 to 32 inches wide, but older homes may have odd sizes. Check if walls are plumb and square: out-of-square corners complicate tile layout and panel fit.
Inspect the subfloor around the tub. Pull up any accessible flooring in an adjacent room or hallway, or remove the tub spout and check for soft spots. Water damage is common near the drain and overflow. If the floor feels spongy, plan to sister joists or add 3/4-inch exterior-grade plywood over the existing subfloor.
Plumbing code and permits: Moving a drain typically requires a permit. If keeping the drain in place and only swapping fixtures, many jurisdictions don’t require one, but always check locally. The drain must connect to a 2-inch P-trap minimum and maintain proper venting per IRC P3105 or local amendments. If adding a linear drain or moving from center drain to corner, hire a licensed plumber unless comfortable sweating copper, solvent-welding ABS, or using PEX and SharkBite fittings per local code.
Fixture height matters. Shower valves install 48 inches above the finished floor (center of the handle), and the showerhead rough-in is typically 72 to 78 inches. Handheld sprayers add flexibility. If installing grab bars, blocking between studs at 33 to 36 inches height is code in accessible showers.
Decide on door or curtain. Frameless glass doors look sharp but cost $800 to $2,000 installed. Sliding doors work in tight spaces. A curved shower rod and waterproof curtain is the budget-friendly option and skips door maintenance.
Order materials early. Lead times for custom glass, specific tile, or niche inserts can stretch weeks. Most local home centers stock standard conversion kits and common tile sizes, but unique mosaics or large-format porcelain may need special order.
Step-by-Step: How to Convert a Bathtub to a Shower
This walkthrough assumes a full demolition and custom tile shower. Conversion kits follow manufacturer instructions and skip many of these steps.
1. Shut off water and disconnect plumbing.
Turn off the main or fixture shutoff valves. Remove the tub spout, faucet handles, and overflow cover. Disconnect the drain shoe from below if accessible, or cut it flush with a reciprocating saw and Sawzall blade.
2. Demo the tub and surround.
Wear safety goggles, dust mask, and gloves. Pry off any trim or caulk. For fiberglass surrounds, score seams with a utility knife and pull panels free. For tile, use a cold chisel and hammer or a demo hammer drill to break up sections. Cut the tub flange free from studs with a reciprocating saw, then break the tub into manageable pieces with a sledgehammer (cast iron) or cut fiberglass tubs into sections. Dispose per local regulations, some areas ban landfill disposal of cast iron.
3. Inspect and repair framing.
Check studs for rot or mold. Replace damaged 2×4 studs and add blocking for valve, showerhead, and grab bars. Ensure the subfloor is solid: if spongy, remove affected sections and sister joists or install new plywood. Subfloor must slope toward the drain 1/4 inch per foot minimum.
4. Install the shower pan or base.
For mortar beds: build a pre-slope with sand-mix mortar, lay a PVC or CPE pan liner up the walls at least 9 inches, install the drain (two-part with clamping ring), then pour the final mortar bed. For foam pans: set a factory-sloped expanded polystyrene (EPS) or polyurethane base, secure with thinset or adhesive, and attach the bonding flange drain. Many builders prefer foam pans for faster, lighter installation and compatibility with modern waterproofing methods.
5. Waterproof the walls.
Apply a liquid membrane like RedGard or a sheet membrane such as Schluter KERDI over cement backer board (1/2-inch Durock or HardieBacker). Overlap seams, corners, and the pan liner or bonding flange per manufacturer specs. This step is critical, any gap invites water into the framing.
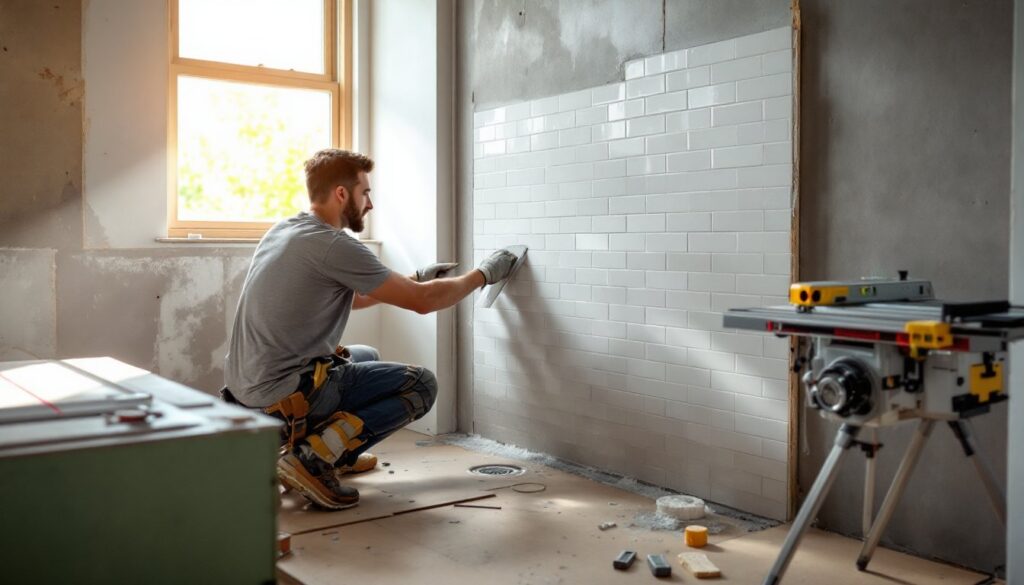
6. Tile the walls and floor.
Use thinset mortar rated for wet areas. Start with the pan floor if doing tile (many foam pans stay exposed or use a thin pebble-tile overlay). Then tile walls from the bottom up, maintaining 1/16- to 1/8-inch grout joints for wall tile and slightly wider for floor. A laser level or plumb bob keeps rows straight. Cut tile around the valve and showerhead with a wet saw or angle grinder with a diamond blade. Let thinset cure 24 to 48 hours, then grout with sanded or unsanded grout (sanded for joints over 1/8 inch). Seal grout after it cures.
7. Install valve, showerhead, and accessories.
Trim out the rough-in valve (most use 1/2-inch copper or PEX supply lines). Install the escutcheon, handle, and showerhead arm. Add any niches, corner shelves, or grab bars anchored into blocking. Caulk all penetrations and joints where tile meets the pan with 100% silicone or urethane caulk.
8. Final details.
Install a glass door or mount a curved shower rod. Run a bead of caulk along the threshold. Turn the water back on and test for leaks at the valve, showerhead, and drain. Let the shower run for 10 minutes and inspect below for drips.
Safety note: Working overhead with tile or demolishing cast iron requires eye and hearing protection. Wet saws generate silica dust, use a respirator rated N95 or better. If uncertain about any plumbing or structural work, consult a professional before proceeding.
Cost Breakdown: What to Expect for Your Conversion
Costs vary widely by region, material quality, and labor rates. These 2026 estimates assume mid-grade materials and professional installation where noted. DIY can cut labor but adds tool rental and learning-curve mistakes.
Conversion kit (acrylic or fiberglass): $600 to $2,500 for the kit itself, plus $800 to $1,800 labor if hiring an installer. Total: $1,400 to $4,300. Kits from big-box retailers or franchises like Re-Bath services often include warranty and professional measurement.
Full custom tile shower: Materials run $1,200 to $3,500 (tile, pan, membrane, thinset, grout, valve, and showerhead). Professional installation adds $2,000 to $5,000, depending on complexity and local rates. Total: $3,200 to $8,500. Expect the higher end for large-format porcelain, frameless glass doors, and intricate mosaic accents.
Additional costs:
- Demolition and haul-away: $200 to $600 if not DIY.
- Plumbing changes (moving drain or valve): $500 to $1,500.
- Subfloor or framing repair: $300 to $1,200 for moderate damage.
- Frameless glass door: $800 to $2,000 installed.
- Permits: $50 to $300, varies by jurisdiction.
DIY savings: Handling demo, pan install, and tile yourself can save 40 to 60% on labor, but factor in tool rental (wet saw $50/day, hammer drill $30/day) and materials waste from mistakes. First-time tilers should budget an extra 10 to 15% on tile and thinset.
Return on investment: Mid-range bathroom remodels recoup roughly 60 to 67% at resale per Remodeling Magazine’s Cost vs. Value report, though accessibility upgrades can improve marketability in aging-in-place demographics. Removing the only tub in a home may deter families with young children, so weigh the household’s long-term plans.
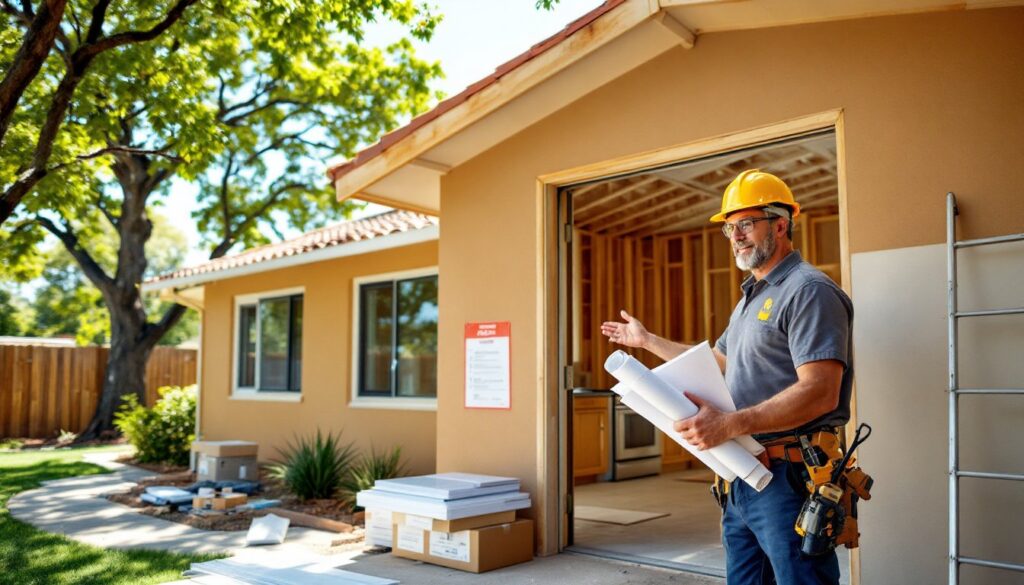
Getting multiple quotes and verifying installer licensing and insurance protects against cost overruns and shoddy work. For detailed breakdowns and planning resources, step-by-step guides offer checklists and material calculators to refine estimates.