Table of Contents
ToggleGetting the audio and video right in a home theater is only half the battle. The other half? Where you put the seats. A poorly planned seating layout can leave viewers craning their necks, blocking each other’s views, or sitting so far off-axis that the whole experience feels off. Whether you’re converting a spare bedroom or finishing a basement, the way you arrange seating determines whether your theater feels like a commercial cinema or a cramped living room with a big screen. This guide walks through the measurements, configurations, and elevation strategies that turn a collection of recliners into a properly planned viewing space.
Key Takeaways
- A proper home theater seating layout requires intentional planning of room dimensions, seat spacing, and viewing distances—poor layouts lead to neck strain, obstructed views, and wasted investment.
- Optimal viewing distance for home theater seating ranges from 1.0–1.5 times screen width for 4K displays, with the screen center positioned 36–48 inches off the floor depending on recline angle.
- Multi-row seating configurations demand vertical risers of 12–15 inches per level to ensure unobstructed sightlines, plus 36–42 inches of horizontal depth between rows for recliner extension and legroom.
- Aisle placement and traffic flow are critical to comfort—minimum aisle widths of 22–24 inches (or 30 inches for motorized recliners) should connect entry doors at the room’s rear and avoid crossing viewing sightlines.
- Room dimensions should be at least 13 feet deep by 15 feet wide for single-row comfort, with 18–20 feet recommended for multi-row setups, maintaining 3–4 feet clearance front and back plus 24 inches at side walls.
- For dedicated home theaters, tiered seating on risers with theater recliners delivers the cinematic experience, while multipurpose rooms benefit from flexible sectional sofas, though purpose-built theater seating provides superior support for extended viewing sessions.
Why Your Seating Layout Makes or Breaks Your Home Theater Experience
A home theater is an investment in immersion, and seating is the foundation of that immersion. If the seats are too close, the screen overwhelms peripheral vision and pixelation becomes visible. Too far back, and fine details disappear. Off to the side, and the carefully calibrated stereo imaging from your surround sound collapses into a muddled mess.
Beyond viewing angles, comfort matters for sessions longer than a 90-minute movie. Theater seating should support multiple body types, allow easy entry and exit, and leave enough clearance so viewers aren’t stepping over each other mid-film. A layout that ignores traffic flow or shoehorns too many seats into a small room creates frustration, not enjoyment.
The difference between a great layout and a mediocre one often comes down to intentional planning. Measure twice, arrange once. Factor in the room’s dimensions, the display size, the type of seating (recliners vs. fixed chairs vs. sectional sofas), and whether the room serves double duty as a multipurpose space. Skipping this step leads to expensive do-overs or a theater that never quite feels right.
Essential Measurements and Space Planning for Theater Seating
Start with the basics: minimum room dimensions. A functional single-row home theater fits in a space as small as 11 feet deep by 13 feet wide, but that’s cutting it close. For a more comfortable setup, aim for at least 13 feet deep and 15 feet wide. Multi-row configurations demand more, typically 18 to 20 feet in depth to accommodate proper spacing and risers.
Seat width averages 22 to 24 inches for standard theater recliners, though some luxury models run 28 inches or wider. Add 3 to 6 inches of space between seats to prevent shoulder-to-shoulder contact. If the room is narrow, consider a loveseat-style recliner to save width without sacrificing two seats.
Leave at least 3 feet of clearance from the back wall to the rear of the last row, and another 3 to 4 feet in front of the first row if space allows. This buffer gives viewers room to stand and walk without brushing against walls or the screen. For side walls, maintain a minimum of 24 inches from the outermost seat to allow passage and reduce sound reflection issues.
Optimal Viewing Distances and Screen Height
Viewing distance depends on screen size and resolution. For 4K displays, the Society of Motion Picture and Television Engineers (SMPTE) recommends sitting at a distance of 1.0 to 1.5 times the screen width. A 120-inch diagonal screen (roughly 104 inches wide in 16:9 format) puts the sweet spot between 8.5 and 13 feet. For 1080p screens, increase that to 1.5 to 2.5 times the width to avoid visible pixels.
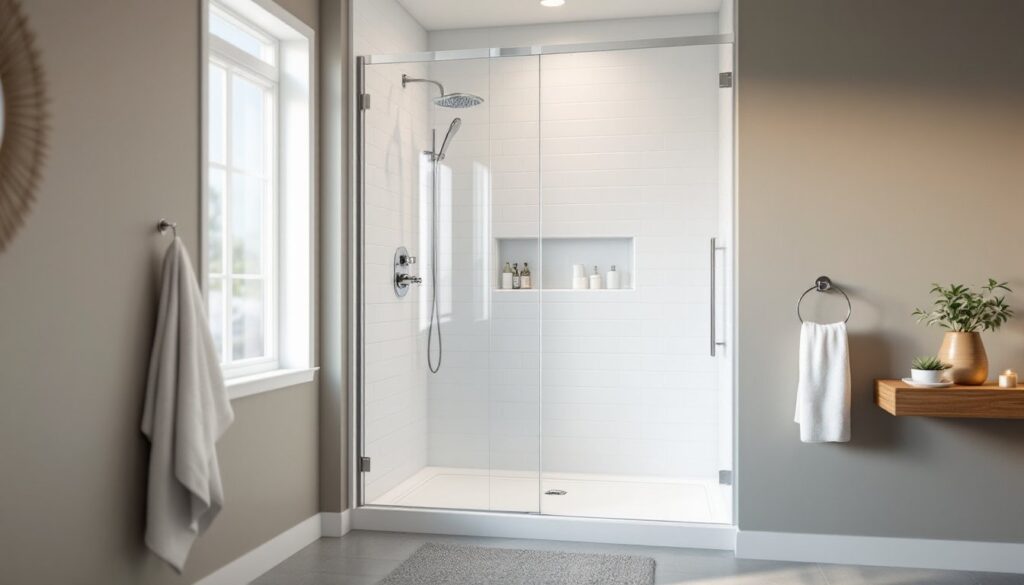
Screen height matters as much as distance. The center of the screen should align roughly with viewers’ eye level when seated, typically 36 to 42 inches off the floor for standard seating. If using recliners that tilt back, aim slightly higher, around 42 to 48 inches, to account for the reclined viewing angle. Mount the screen or position the TV stand accordingly, and double-check sightlines from every planned seat before finalizing the layout. Viewers on optimizing seating placement often find that small height adjustments make a noticeable difference in neck comfort during long sessions.
Choosing the Right Seating Configuration for Your Room
Room shape and function dictate configuration. Rectangular rooms lend themselves to traditional row-based layouts, while square rooms may benefit from a curved or angled arrangement to keep all seats within the optimal viewing cone. Avoid placing seats directly against side walls unless absolutely necessary, it kills the surround sound effect and creates acoustic dead zones.
For dedicated home theaters, prioritize tiered rows with risers (covered in a later section). For multipurpose rooms, a family room that doubles as a theater, sectional sofas or modular seating offer flexibility. Just be aware that most sectionals don’t provide the same head and lumbar support as purpose-built theater recliners.
Seating capacity should match realistic usage. A family of four doesn’t need eight seats unless frequent hosting is part of the plan. Overfilling a room degrades comfort and sightlines. When in doubt, err on the side of fewer, better-positioned seats.
Single-Row vs. Multi-Row Layouts
Single-row layouts work well in rooms under 16 feet deep. They simplify construction (no risers), reduce costs, and keep everyone at the same viewing distance. The downside? Limited capacity, usually four to six seats depending on room width. This setup suits couples or small families who value simplicity over scale.
Multi-row layouts unlock higher capacity and a more cinematic feel, but they require careful planning. The second row must sit high enough on a riser to see over the first row, and both rows need to fall within the recommended viewing distance range. A common mistake is pushing the second row too far back to make room, which lands viewers outside the optimal viewing cone and diminishes the experience.
For a two-row setup, calculate spacing as follows: 12 to 18 inches of vertical rise for the second row (seat height from floor to cushion top), and 36 to 42 inches of horizontal depth between rows measured from the back of the front seat to the front of the rear seat. This allows recliners to fully extend without collision and provides legroom for viewers in the back row. Homeowners exploring layout ideas often turn to platforms like Houzz for visual examples and professional design inspiration.
Maximizing Comfort: Spacing, Aisles, and Traffic Flow
Aisle placement separates good layouts from great ones. In a single-row setup, a center aisle is rarely necessary unless the row exceeds six seats. For multi-row theaters, plan for at least one aisle to allow entry and exit without disturbing other viewers. A center aisle works if the room is wide enough (16+ feet), but side aisles are more common in narrower spaces.
Minimum aisle width should be 22 to 24 inches to accommodate foot traffic without bumping seated viewers. If the theater includes motorized recliners that extend into the aisle when deployed, increase that to 30 inches. Mark aisle paths clearly during planning, use painter’s tape on the floor to visualize clearance before committing to furniture placement.
Recliner footprint varies by model. Standard manual recliners need about 60 inches of depth when fully extended, while wall-hugger designs (which slide forward as they recline) reduce that to 48 inches or less. Motorized models with cup holders, storage, and USB ports often run wider and heavier, so check manufacturer specs before assuming they’ll fit.
Don’t overlook egress and safety. If the theater doubles as a bedroom or includes a closet, ensure doors can open fully without hitting seats. In dedicated spaces, consider the path to the exit in case of emergency. Building codes (IRC) typically don’t mandate specific theater seating layouts, but maintaining clear egress routes is smart practice. Integrating smart home technology such as automated lighting or voice-controlled systems can further enhance safety and convenience during low-light viewing sessions.
Traffic flow extends beyond aisles. Plan for how viewers will enter the room. Ideally, the entry door sits at the rear of the space to minimize disruption when latecomers arrive. If the door is at the front or side, arrange seats to create a natural path that doesn’t cross sightlines.
Riser and Elevation Strategies for Unobstructed Sightlines
Risers turn a flat room into a tiered theater, and they’re non-negotiable for multi-row setups unless the second row sits far enough back that heads don’t block the screen. The math is straightforward: the vertical rise must be high enough that the eye level of the back row clears the heads of the front row by at least 4 to 6 inches.
For two-row layouts, a riser height of 12 inches usually suffices. For three or more rows, stagger risers by 12 to 15 inches per level. These heights also create visual drama and a true cinema aesthetic. Anything lower risks obstructed views, especially with high-back recliners.
Building a riser requires basic carpentry skills but isn’t complex. Frame it with 2×4 or 2×6 lumber on 16-inch centers (matching standard stud spacing), sheath the top with 3/4-inch plywood or OSB, and cover with carpet or rubber stair tread for sound absorption and safety. If the riser height exceeds 12 inches, some jurisdictions classify it as a stage or platform and may require a guardrail or permit, check local codes before construction.
Prefabricated riser kits are available if framing from scratch feels intimidating. These typically bolt together and include carpet-ready tops. They cost more than DIY but save time and reduce the chance of measurement errors.
For single-row layouts in rooms with high ceilings, consider elevating the entire seating area by 6 to 8 inches. This minor lift improves screen geometry and adds a sense of occasion without the complexity of multiple tiers.
Safety note: Always anchor risers to wall studs if they exceed 12 inches in height or support more than two seats. Use 3-inch wood screws or lag bolts driven into studs, not drywall. Freestanding risers can shift under weight, especially with motorized recliners that vibrate during adjustment.
Acoustic benefits of risers are a bonus. Elevating the back row reduces floor reflections and can improve bass response in the rear seats. Pair this with acoustic treatments on the riser’s front face (fabric-wrapped panels or bass traps) to control low-frequency buildup.
Before finalizing riser dimensions, sit in your chosen seating at the planned heights and distances. Use cardboard boxes or stacked lumber to simulate the riser, position the seats, and verify sightlines from every spot. This low-tech mockup catches mistakes before the first cut.