Table of Contents
ToggleWalk-in bath and shower combos are quietly revolutionizing how homeowners approach bathroom accessibility, without sacrificing square footage or design. Whether planning an aging-in-place remodel, adapting a home for mobility challenges, or simply tired of climbing over a slippery tub ledge, these fixtures blend safety features with everyday convenience. They’re not medical equipment disguised as bathroom fixtures: modern units offer clean lines, multiple shower configurations, and surprisingly flexible installation options. This guide breaks down what they are, why they work, and how to choose and install one that fits both the space and the budget.
Key Takeaways
- A walk-in bath and shower combo eliminates slip-and-fall hazards by offering a low or zero-threshold entry (3–6 inches high) while providing both soaking and standing shower capabilities without requiring users to wait for fill-drain cycles.
- Walk-in bath and shower combo units fit standard alcove spaces (60 x 30 inches) without moving plumbing or walls, making them cost-effective retrofit options that save $3,500–$9,000 total and work for any bathroom size.
- Safety features like ADA-compliant grab bars, thermostatic controls, textured flooring (0.6+ COF), and built-in 300–400 pound rated seats make these units essential adaptations for aging in place, mobility challenges, and universal design homes.
- Alcove models are DIY-friendly for homeowners comfortable with leveling, connecting P-traps, and sealing, but barrier-free systems and subfloor work require licensed contractors to prevent costly water damage.
- Choose your walk-in bath and shower combo based on door swing direction, drain size (larger 2-inch drains reduce wait time), water heater capacity (50–80 gallon units), and whether soaking or quick showers are the priority.
What Is a Walk-In Bath and Shower Combo?
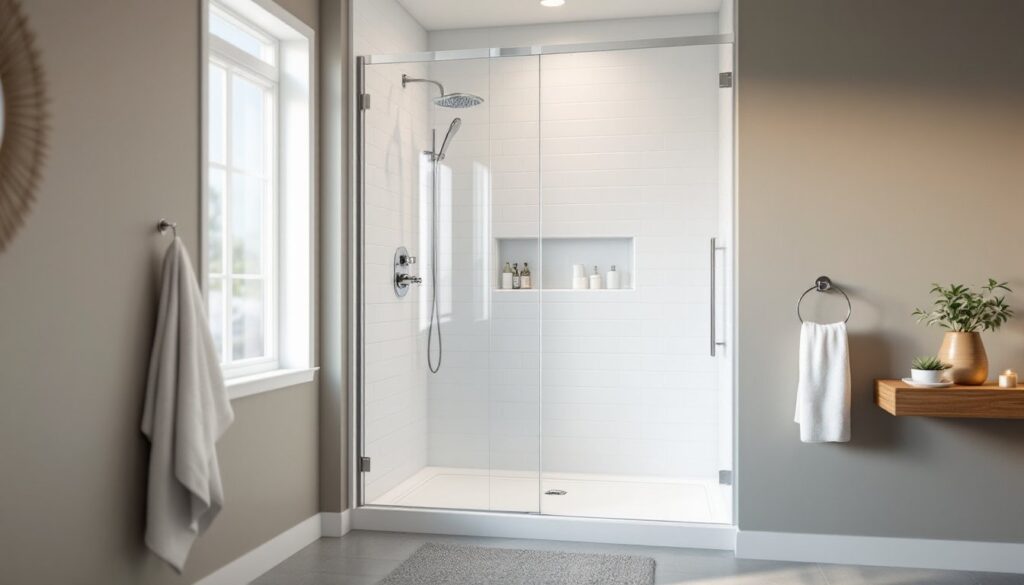
A walk-in bath and shower combo is a single bathing fixture that combines a low-threshold (or zero-threshold) entry with both bathing and showering capabilities. Instead of stepping over a standard 14–16 inch tub wall, users enter through a watertight door with a threshold typically 3–6 inches high, or completely flush with the floor.
Once inside, the unit functions as both a seated soaking tub and a standup shower. Most models include a built-in molded seat, grab bars, anti-slip flooring, and a handheld showerhead with a vertical slide bar. The door seals with a compression gasket (similar to a refrigerator door) and latches securely before filling.
Unlike traditional walk-in tubs that require users to sit and wait while the tub fills and drains, combo units with overhead shower capability let someone shower quickly without filling the tub at all. This addresses the biggest complaint about standard walk-in tubs: the wait time.
These fixtures come in alcove, corner, and freestanding configurations. Alcove models (typically 60 inches wide) fit into standard tub openings, making them retrofit-friendly. Corner and freestanding units need more floor space but work well in larger bathrooms or universal design builds.
Key Benefits of Installing a Walk-In Bath and Shower Combo
Enhanced Safety and Accessibility
Slip-and-fall injuries in bathrooms send thousands of people to the ER every year, and most happen getting in or out of the tub. A walk-in combo eliminates the high step-over, which is the most hazardous moment in the bathing process.
Key safety features include:
- Grab bars: Usually stainless steel, ADA-compliant, and anchored into reinforced walls or the tub structure itself
- Textured flooring: Slip-resistant surfaces with a coefficient of friction (COF) rating of 0.6 or higher
- Built-in seating: Molded or fold-down seats rated to support 300–400 pounds
- Thermostatic controls: Prevent scalding by maintaining water temperature within 2°F of the setpoint
- Low or zero threshold: Meets ADA standards for roll-in showers when installed flush with the floor
For individuals with limited mobility, arthritis, balance issues, or those recovering from surgery, these features aren’t luxuries, they’re necessary adaptations. Many universal design principles used in accessible bathrooms also increase resale value, since they appeal to aging buyers and multigenerational households.
Space-Saving Design for Any Bathroom
A traditional bathroom remodel often forces a choice: tub or shower. Walk-in combos deliver both in the same footprint.
Standard alcove models fit a 60 x 30-inch or 60 x 32-inch space, the same dimensions as a builder-grade tub. Homeowners can remove an old tub and install a combo without moving plumbing, repositioning studs, or expanding the room. That keeps costs down and timelines short.
In smaller bathrooms (under 50 square feet), eliminating a separate tub and shower stall opens up room for storage, a larger vanity, or better traffic flow. It’s a practical solution for single-bathroom homes or condos where every inch counts.
For renovations targeting aging in place, the combo approach means not having to choose between a safe shower and the option to soak. Both functions remain available as needs change over time.
Types of Walk-In Bath and Shower Combos to Consider
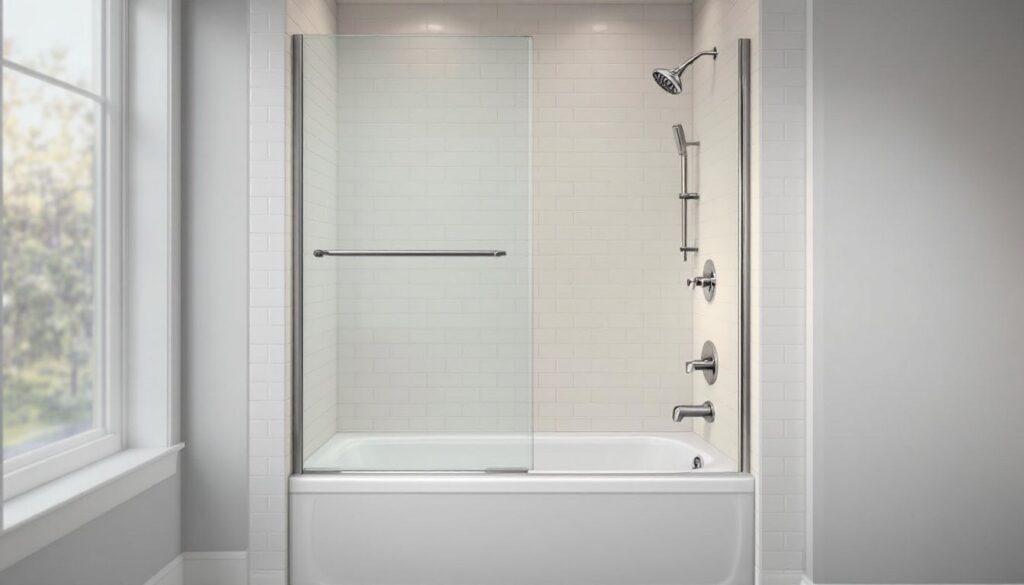
Alcove Walk-In Tub with Overhead Shower
The most common retrofit option. These units drop into a three-wall alcove and include a watertight inward- or outward-swinging door, a built-in seat, and a fixed or handheld showerhead. Drain placement matches standard tub rough-ins (center or end drain), simplifying installation. Expect a door threshold of 4–5 inches.
Barrier-Free (Curbless) Shower with Tub Function
These systems use a flush-mount base and a hinged glass enclosure instead of a swinging tub door. Water containment relies on careful floor slope (¼ inch per foot toward the drain) and a linear drain. The tub function comes from a deeper pan (usually 8–10 inches) that can be filled for soaking. Best for new construction or gut renovations where subfloor access is available. Requires a 2-inch trap and may need floor joist modification.
Corner Walk-In Combo
Designed for two-wall installations, these L-shaped units maximize space in larger bathrooms. They typically include dual grab bars, a corner seat, and a rain showerhead or multi-function shower panel. Common dimensions: 48 x 48 inches or 60 x 36 inches. Not ideal for tight retrofits, but excellent for master bath upgrades.
Freestanding Walk-In Tub with Enclosure
Less common but available for open floor plans or wheelchair-accessible bathrooms. These require plumbing rough-in from below (crawl space or basement access) and a dedicated drain line. The enclosure is usually frameless glass. Installation is more complex and often requires professional help, but design flexibility is high.
Material options vary: acrylic (lightweight, affordable, easy to clean), gel-coat fiberglass (mid-range cost, durable), and composite stone resin (premium feel, excellent heat retention). Acrylic is the most common for DIY-friendly alcove installs.
Installation Costs and What to Expect
Installation costs vary widely based on unit type, existing bathroom configuration, and whether the job is DIY or contracted out.
Typical cost ranges (2026 estimates, mid-grade materials):
- Alcove walk-in combo unit only: $2,000–$5,500
- Professional installation (alcove): $1,200–$3,500
- Barrier-free shower system with tub function: $3,500–$8,000 (unit + install)
- Plumbing modifications (moving drain, adding shut-off valves): $300–$1,200
- Electrical work (GFCI outlet, ventilation fan upgrade): $150–$600
- Wall surround/tile (if replacing): $800–$2,500
Total project cost for a straightforward alcove swap typically lands between $3,500 and $9,000. Custom tile work, high-end fixtures, or structural modifications (subfloor reinforcement, joist work) push costs higher.
Permit requirements:
Most jurisdictions require a permit for plumbing and electrical changes, even if not altering the room layout. Barrier-free showers involving floor slope changes almost always need a permit and inspection to ensure proper waterproofing and code compliance with the International Residential Code (IRC). Skipping permits can cause issues during home sales or insurance claims.
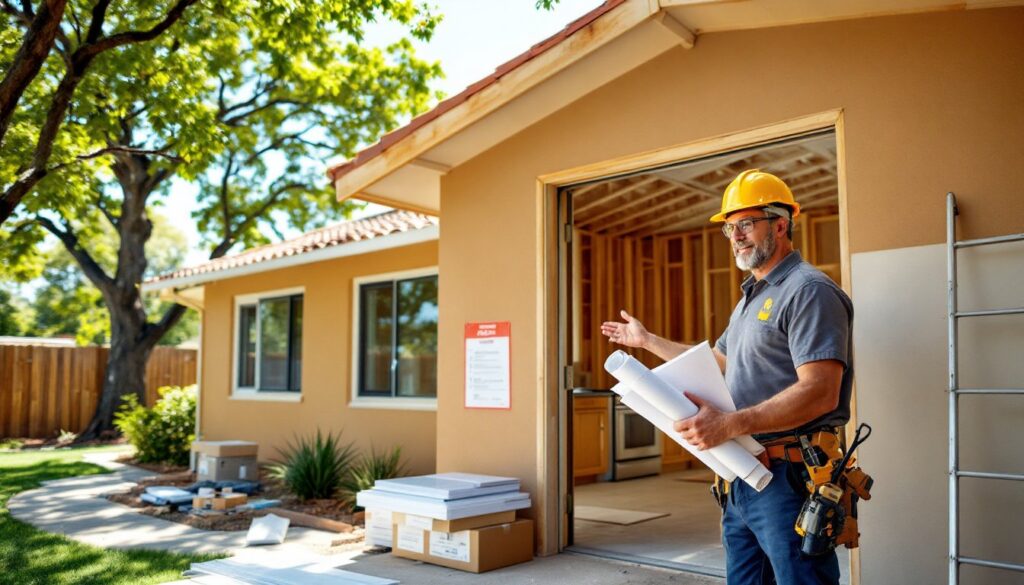
DIY vs. professional installation:
Alcove units with matching drain placement can be DIY-installed if the homeowner is comfortable with:
- Removing old tub and surround (wear safety goggles, gloves, and a dust mask)
- Leveling and shimming a tub (critical for door seal integrity)
- Connecting P-trap and waste-and-overflow assembly
- Sealing and caulking (use 100% silicone for wet areas)
- Installing grab bars into blocking or studs (drywall anchors are not sufficient)
Barrier-free systems and any project involving subfloor work, tile setting, or waterproof membrane installation should be handled by a licensed contractor. Water damage from improper installation far exceeds the cost of hiring a pro. Many professional bathroom remodels include warranties covering both materials and labor, which DIY installs lack.
Choosing the Right Walk-In Bath and Shower Combo for Your Home
Start by measuring the existing space. For alcove retrofits, confirm the rough opening width, depth, and height. Measure from stud to stud (not just drywall to drywall) to ensure the new unit fits. Standard rough openings are 60 x 30 inches or 60 x 32 inches, but older homes may have non-standard dimensions.
Door swing direction matters. Inward-swinging doors require standing room inside the tub while it drains (if filling for a bath). Outward-swinging doors need clearance in the bathroom but allow easier exit. Test the layout on paper before ordering.
Evaluate user needs:
- Height and mobility: If a wheelchair transfer is needed, a low threshold (under 2 inches) or curbless design is essential. A fold-down seat works better than a fixed seat for flexible use.
- Soaking vs. showering preference: If the tub will rarely be filled, prioritize a model with a good overhead rain shower or multi-spray handset rather than deep-fill capacity or hydrotherapy jets.
- Quick drain: Look for units with 2-inch drains instead of standard 1.5-inch drains. Larger drains cut wait time nearly in half.
Check plumbing compatibility. Confirm whether the unit requires a center drain or end drain and compare that to existing rough-in. Relocating a drain adds cost and complexity.
Material and warranty:
Acrylic tubs with a gel-coat finish resist scratches and are easy to clean with non-abrasive cleaners. Avoid units with thin acrylic (under 5mm): they flex and crack. Look for a 10-year warranty on the tub shell and 3–5 years on door seals and hardware.
Water heater capacity:
Many walk-in tubs hold 50–80 gallons. A standard 40-gallon water heater won’t fill a large tub with hot water in one go. If soaking baths are a priority, plan for a water heater upgrade or an inline tankless booster.
Optional features to consider:
- Hydrotherapy jets: Useful for muscle pain or circulation, but add cost and require a GFCI-protected electrical circuit. Jets also mean more cleaning (biofilm can build up in lines).
- Fast-fill faucet: High-flow faucets (up to 9 GPM) reduce fill time but require adequate water pressure and supply line sizing (¾-inch recommended).
- Chromotherapy or aromatherapy: Marketing add-ons with limited functional value. Skip unless specifically desired.
Brand reputation and support:
Stick with manufacturers offering local dealer support and replacement parts availability. Installation questions and warranty claims are easier when there’s a regional rep or service technician. Many step-in tubs marketed specifically to mobile home owners use similar construction and door-seal technology.
Safety compliance:
Confirm the unit meets ANSI Z124.1.2 standards for plastic bathtubs and ASME A112.19.15 for bathtub/whirlpool safety. These certifications ensure structural integrity, slip resistance, and proper drainage.
Finally, don’t skip measuring doorways and hallways leading to the bathroom. Some one-piece alcove units are tight fits and may need to go in before drywall or through a window opening during new construction. Plan the delivery and access route before ordering.
For additional DIY bathroom renovation tips, many experienced remodelers recommend dry-fitting the unit before final installation to check clearances, test door operation, and confirm that supply and drain connections align correctly.